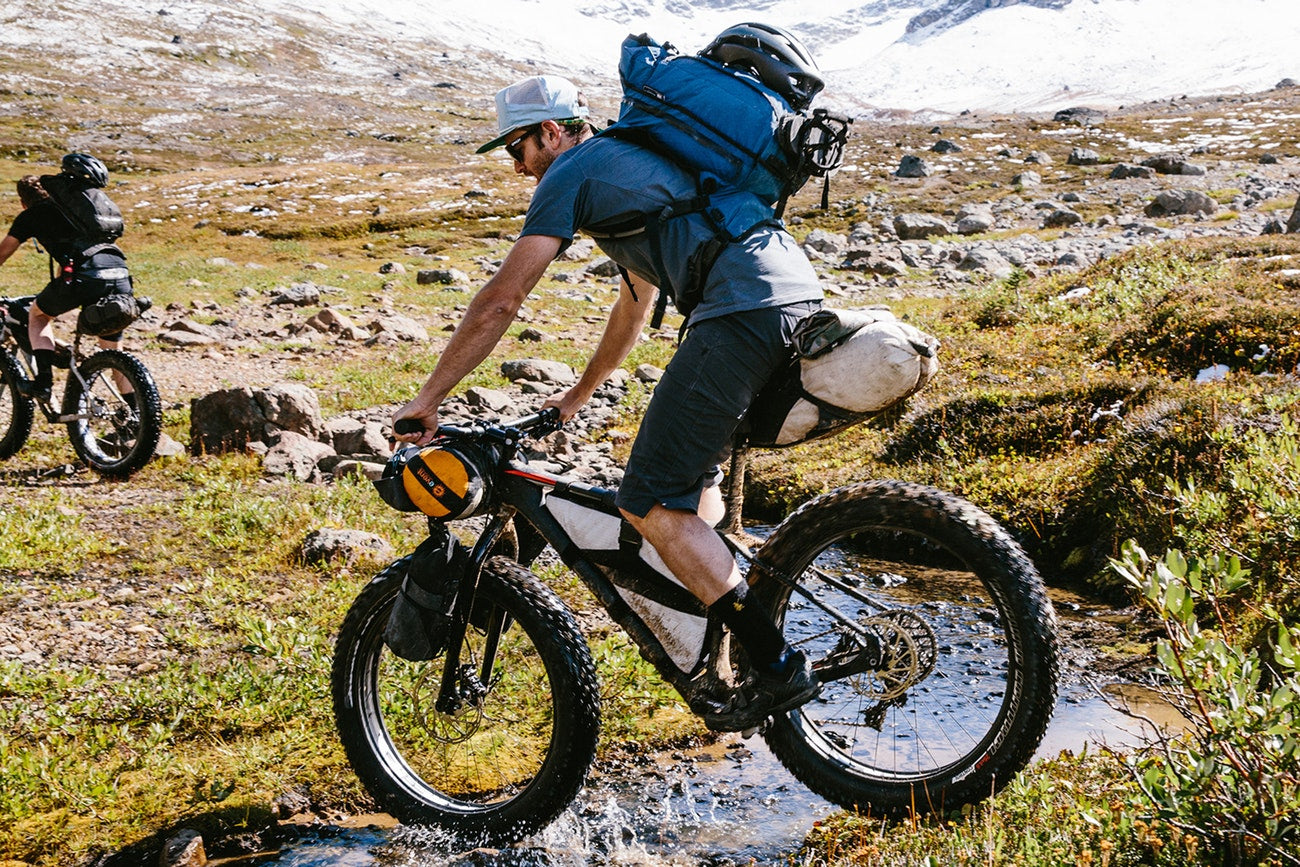
Fat tires let you bring your bike places you couldn’t go before, opening up all kinds of possibilities for recreation. And with all of the incredible stretches of wilderness that North America offers, you can up with some incredible extended adventures. For these amazing outdoor adventures fat bikes are the only rides that will take you everywhere. They may not be the fastest or the lightest, but they will take you wherever your heart and legs desire.Before you start dreaming up your fat bike tours, though, make sure you have the equipment to make them happen.
1. Grippy Tires

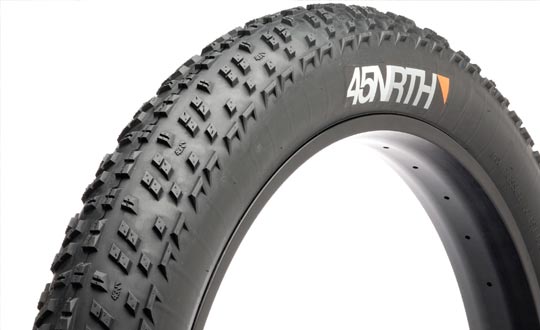
HÜSKER DÜ FAT TIRES FROM NORTH45
Traction is a key component for successful recreational or competitive fat bike tours. Tires can provide increased level of friction or grip depending upon design and materials. The studded tire sets, with deeper gripping front tires, add traction and improve handling on difficult surfaces. The market has moved from virtually no studded options to more than a dozen in less than two years. Riders can further customize studded tires by small variations of the tire pressure. One should attach a precise and sensitive digital tire pressure gauge to every bike to get the tire pressure just right.
Grip studs are another variation on the grippy fat bike tire. Sold in sets with an application tool, grip studs are metal points that create grip by placing the weight of the bike and rider on small metal points raised above the tire surface. It is essentially the technology of wearing golf shoes. Placed on raised rubber points of a studded fat tire tread, these metallic grip studs provide a customized increase in traction and grip. One can add as many as one may need to get a desired result. For example, fifty studs in an offset pattern make a noticeable increase in grip.
2. Front and Rear Fenders

SKS GRAND MOM AND GRAND DAD FENDERS
These cosmetic and functional devices add protection against debris and mud lifted from the surface of the tires. As tires rotate and throw off surface material, the metal, plastic, or wooden fenders catch it before it rises to the rider, or in a racing situation, to nearby riders. One excellent solution is the Mud Shovel, an easy to install a set of fenders that are surprisingly low in cost. They perform the necessary dirty work of protecting the rider from mud rising from the wheel rotation. They are lightweight additions for fat bike tours. They shape to the frame, and are easy to remove.
Mud Shovels in Action
3. Clothing Gear

ALTURA THERMOCOOL BASE LAYER
Flexible layers are an effective way to outfit clothing for fat bike tours. One needs all season protection against wind chill and rain. This can be a lightweight and versatile material like treated nylon. Impermeable cloth with air holes has worked for skiing and other cold weather activities. Warmth comes from shielding moving air to reduce chill effects in all seasons. In winter, one needs additional thermal protection beneath the wind and water resistant shell material. One should select lightweight clothing on top and then add layers with venting because even in the cold weather, one must regulate internal heat build-up. Eye wear can also be necessary, and, in competitive situations and difficult terrain, protective headgear is essential.
4. Racks

OLD MAN MOUNTAIN REAR RACK
Wherever you go on your fat bike tours, you’re probably going to be hauling a lot of stuff with you. Having the right racks on your bike will help you carry that load. Start with a rack for the back. Most rear racks can carry up to 50 lbs, but some designed for touring can handle up to 80 lbs. The length of your tour, the time of year you take it, and the gear you need for activities you plan to do along the way dictate how much weight you’ll carry, so make sure your rear rack can support your load.
If you still need more carrying capacity beyond what your rear rack offers, add a rack to the front of your fat bike. You have two choices here: a top-mount rack and a low rider rack. The former accommodates both gear on top of it and bags on its sides, and the latter is solely for affixing bags to either side of your front wheel. A low-rider bag keeps the weight closer to the ground, helping you maintain balance.
5. Bags

REVELATE DESIGNS VISCACHA SEAT BAG
You’re going to keep your essentials in bags while you’re on your fat bike tours, but you need to place your bags strategically rather than just on your rack(s). Get a small bag specially designed for mounting to your fat bike’s stem and handlebars, and fill it with snacks and other small items. Frame bags offer greater carrying capacity. You can also mount bags to your top tube, your seat post, and underneath your saddle. If you plan to encounter wet weather on your fat bike tours, consider getting dry bags or bags with a dry-bag lining.
6. High-Power Mini Pump

HIGH-POWERED MINI PUMP
During your fat bike tours, you’ll likely ride over varied terrain. Whether you’re plowing through snow in the winter or navigating sand along the coast in summer, you’ll also spend time on paved roads. To change your fat tire’s pressure according to your riding surface, keep a high-power mini pump on hand. Fat tires require more air than those for road, hybrid, and and mountain bikes do. You therefore need a pump that can help you quickly inflate your big tires for paved stretches of your tours. While low pressure helps your fat bike get traction in snow and sand, it slows you down on hard surfaces.
7. Bike Computer

SIGMA BC 1009 BICYCLE COMPUTER
Bike computers aren’t just for stat geeks; they provide valuable information to help you successfully complete your adventure. A readout of your average speed lets you set the right pace, an odometer tells you how much distance you’ve covered in a day and throughout your tour, and a thermometer helps you stay properly attired for the weather. Make sure the bike computer you choose has GPS so that you always know where you are. Some smartphone bike apps also give all of this information, but these can quickly drain your phone’s battery.
There’s tons of other gear you can bring along with you on your fat bike tours, but the essentials above provide the basis for successful jaunts no matter where and when you ride.
Blog writer
Joshua Orr


Share:
What’s Up With Torque Sensors?
Electric Fat Bike A “Car-Free” Winter in Whistler